|
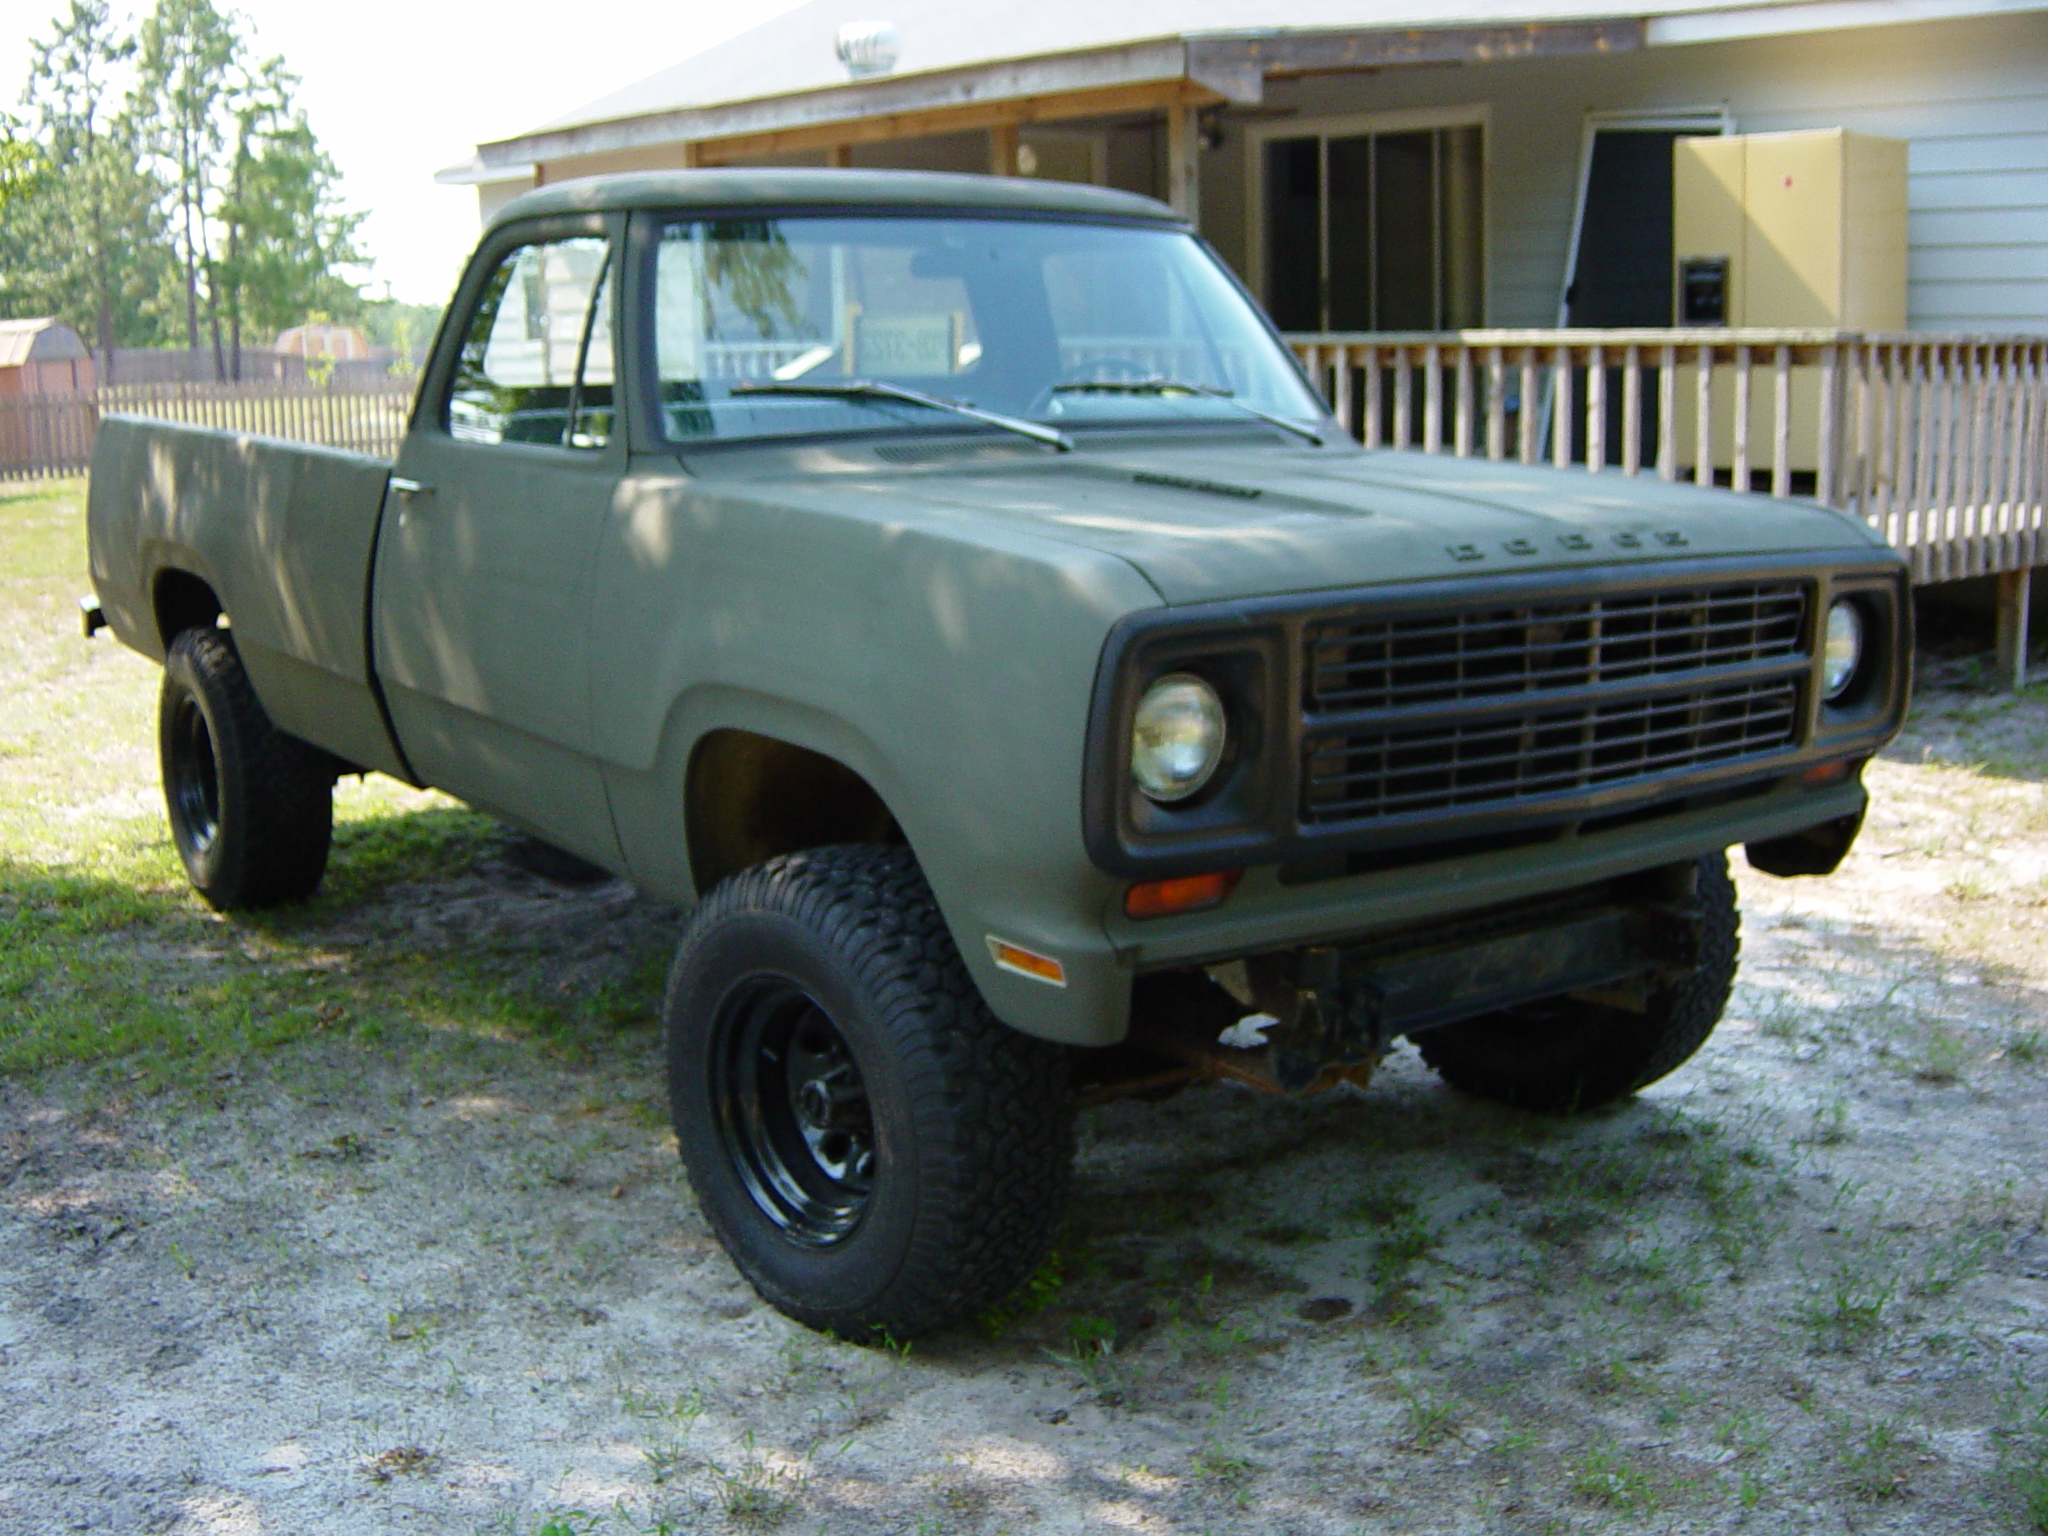
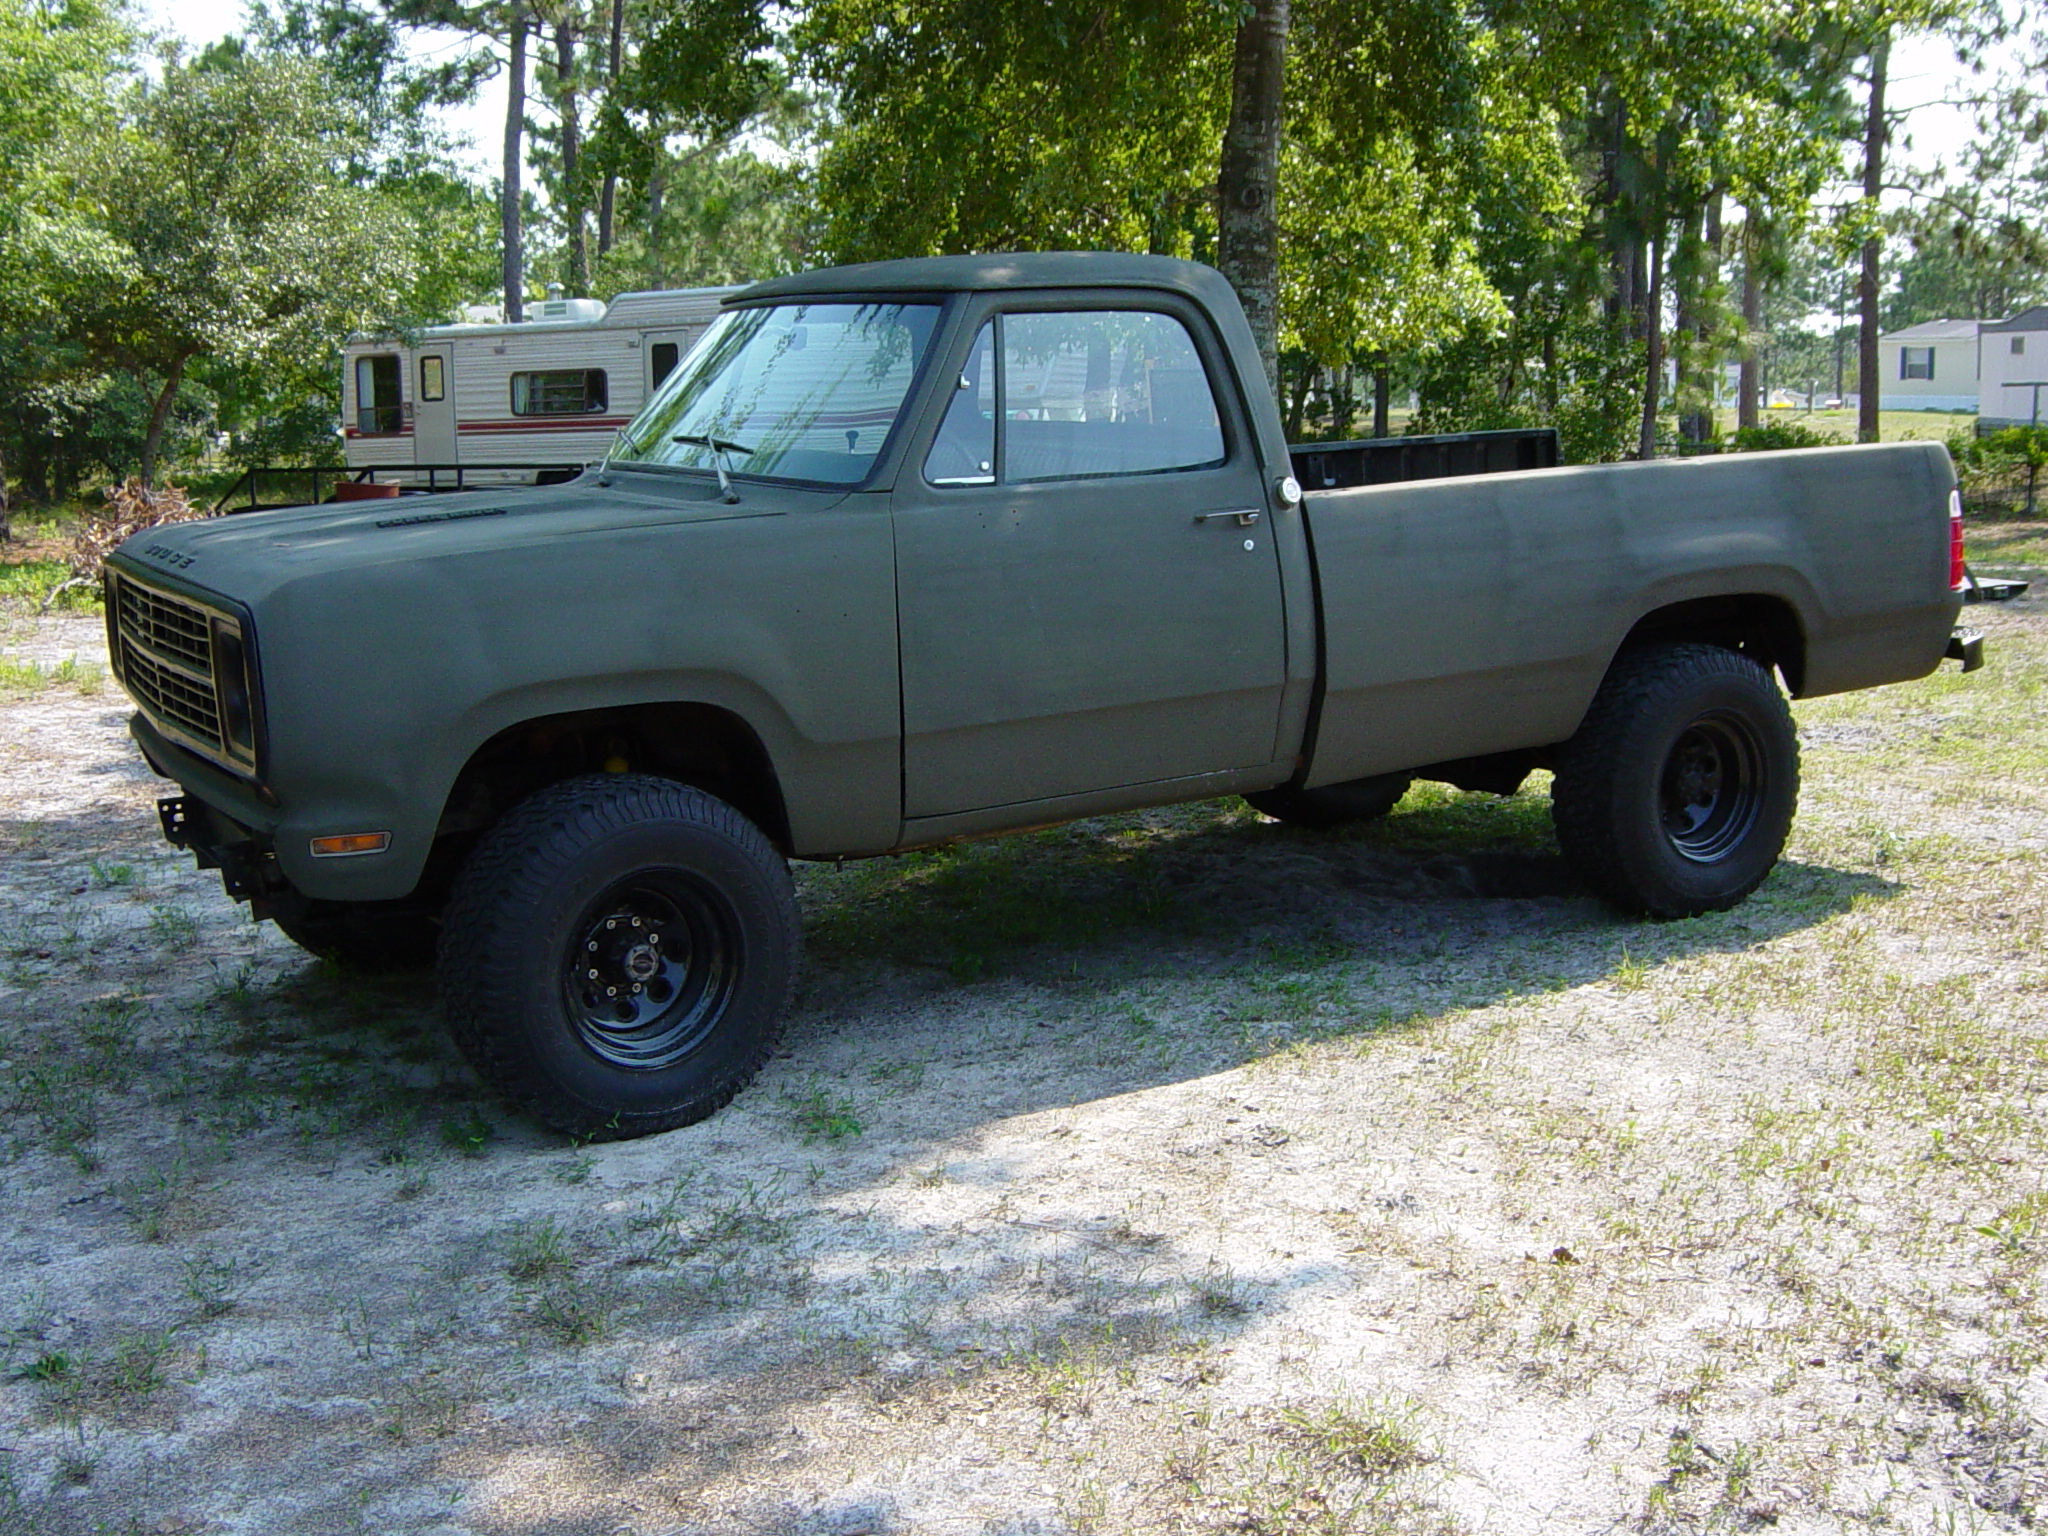
| 1972 Dodge Powerwagon M880. Rattle Can paint job. |
|
|
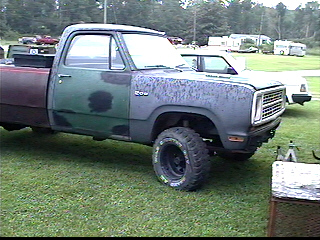
The latest addition to the MOPAR Truck collection. 1972 Dodge PowerWagon 200 3/4 Ton. Has a 360 with Edelbrock intake and QuadroJet carb. Dana 60 rear and Dana 44 front. First thing to be modified will be the paint job. That is half way done now as can be seen below. The front wheel cylinders are leaking so they need to be rebult but the drums are stuck hard to the hub. They will come off tomarrow. The body is pretty straight and the bed is in good shape except for the paint job. 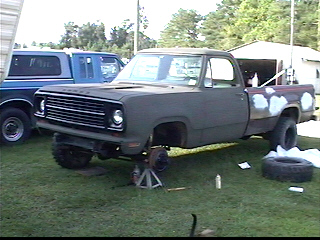
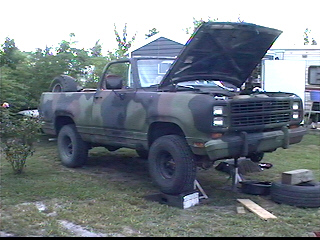
It is summer time and time to go topless. I spent some time getting the bolts removed and then muscled the top back so it was still on the side rails but moving farther back to where it would balance. Once it was almost tiping toward the ground I pulled it from the rear and gently set it down. Then I muscled it to the ground and set it on blocks for future maintenance. The Ramcharger looks much better without the top and is 10 times funner to drive. Three hours later the rain came. I quickly tossed a military humvee cover over the Ramcharger and called it a day. 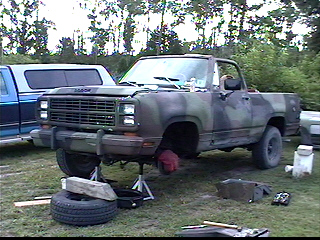
About thirty minutes prior to a down pour, I had the front lifted so I could remove the steering box for a rebuild. Duel exhaust, click photo. 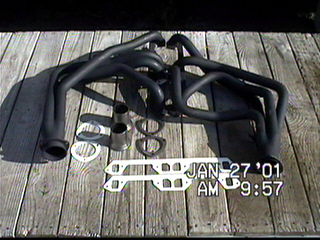
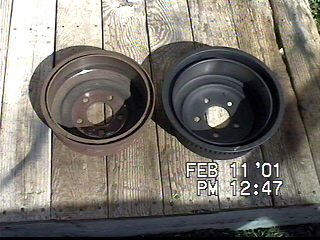
The brake drums here are both for the same vehicle. The one on the left is what I believe to be the stock drum. The one on the right is what I purchased from the autoparts store. They are both 10 inch drums but the new one has a thick outter cooling ring with fins.
I had not intended to replace the drums but when I removed the old ones to have them turned the inner rim broke off in my hand. They were extremely thin, and turning them was out of the question. I ended up buying new emergency brake cables, all new brake hardware, shoes, and drums. The only thing that I used from the old parts was the wheel cylinders.
I painted the new drums to prevent them from turning into what my old drums looked like. 
New Drums with thick outter rim. I paid $42.00 from Advance Auto. Advance Auto Parts 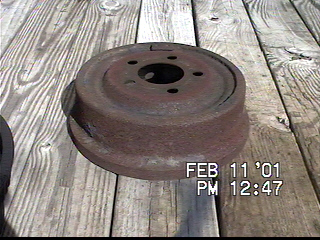
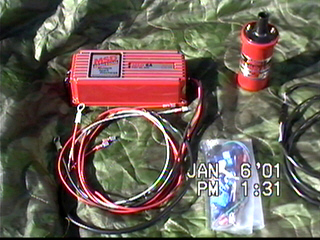
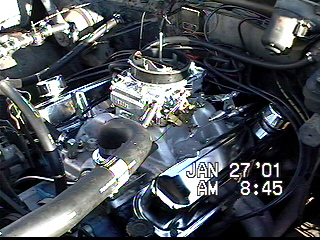
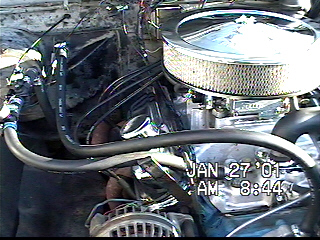
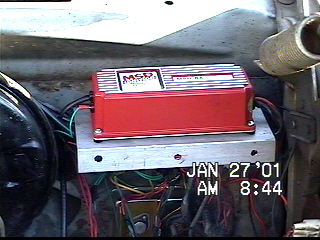
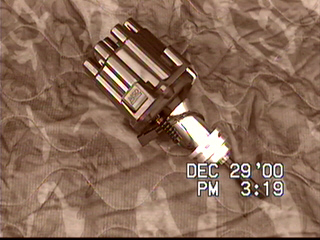
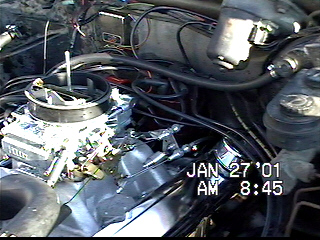
Stock drums from Dodge. Old, thin and very worn out. This is the complete MSD ignition less the distributor. At first it looked complicated and diffacult but the instructions were extremely detailed and accurate with diagrams and helpful hints. Here you can see everything but the air cleaner installed. I ended up replacing the old valve covers for chrome ones to solve two problems. First, the stock covers came with several hose attachments and fittings. With the new carb/intake setup most of them would not be used. Second, the old covers just looked old. Notice the matching set of oil cap breathers. I at first had an oil cap on the right side of the engine but this created to much oil pressure and I had oil spraying out the dipstick hole all over the engine, air filter and hood. Not a fun mess to deal with. Adding the second breather cap solved the problem. Having old gooey oil did little to help the problem. While I had the coolant drained and the radiator out, I replaced all the hoses and belts. I also added a Prestone flush kit into the heater hose to flush the system once or twice a year. From the crud that came out of the radiator I dont think the system had ever been flushed. The temperature control valve was stuck open and someone had forced the lever, bending the push rod, thus the new temp valve did not work. I had to straighten the push rod and then the new valve operated very smoothly. After hooking the MSD ignition up I fabricated an aluminum shelf for the box to sit on. I routed the wires under the shelf and attached it to the fire wall with three screws. One thing I neglected to think about was water on the hood. When I open the hood all the collected water runs down the hood and onto my MSD box. Plans are in the works to prevent this from happening. The green wire on the left side of the MSD ignition box is plugged directly to the tachometer port. The guys at MSD have designed their system to be user freindly, produce noticeable improvements, and be simple to install. I highly recommend this modification. Sorry for the old looking photo, I had the camera set on SEPIA when I took this one. Still the obvious quality of the Distributor is apparent. The shaft is CNC machined metal and the cap comes off with the 90 degree rotation of two pins. The connector is a two prong male to female plug that makes removal a snap. It is diffacult to see in this picture, but the MSD Distributor is back there, buried under wires, and hidden behind the intake.
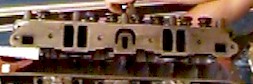
Holes in my Head! See the two holes in the center of the head? One is shaped like a horse shoe and the other like a rectangle. I don't know what they are for and don't know where they go other than into the heads. My new Edelbrock intake did not cover these holes up like my stock intake. The engine runs fine but I am concerned that dirt, debris, or water might get down inside. Does anyone know if I can cover them with out having a problem? I would like to know what the purpose of these holes are. Any advice would be appreciated.
Ok, here is what I found out about these holes. They are vents for heat. When the stock manifold was in place the holes were a passage to the intake and emmissions devices. They can and should be covered to keep debris and water from getting in. My first Ramcharger 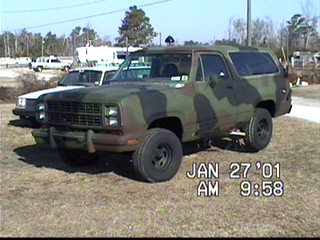
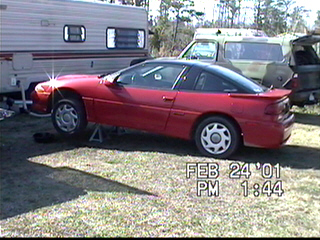
1979 DODGE RAMCHARGER
I found this R/C in Greenville N. Carolina for $1500.00. It was running, and driving but needed some electrical work and some cosmetic touch up. Mechanically it was sound and drove exceptionally well for a twenty-one year old vehicle. There was no air filter and the stock two barrel carburetor would stick once in a while when starting. The water pump had a bad seal so there was a slow leak from the weep hole. Someone had thought enough of the old Ram to install headers but in the process they had crushed the sides of two of the pipes. There was also a one inch long cut in one of the pipes. I can only guess why. The belts were near rotten but they were functional. The smog pump had long ago been seized. Many of the vacuum lines had been plugged with screws or nails or just torn off. I could only imagine the smog equipment had given up the fight long ago. I was pleasantly surprised that it had so much spunk when I hit the gas. It was in need of a complete inspection and maintenance makeover. I started with the registration paper work and began to prioritize what needed to be done. The first thing was to replace the water pump. I found one with a lifetime warranty for $23.00. The state of N. Carolina expects all vehicles to meet minimum standards for safety. All lights must be working, wipers in good condition, emergency break operational, and exhaust in tact. The Ramcharger needed new wiper transmission arms, wipers, a few light bulbes, and the emergency break hooked back up. I started on those things while I was waiting for my new tags.
See below some more info on what I have been working on.
These are Dynomax headers right out of the box. I was happy with the product but not to thrilled with the way they were shipped. They were in a box with no packing at all. Several areas were rubbed smooth while in transit. Other areas like in the photo below were scraped so severely the paint came off. I had to buy a $6.00 can of high temp paint to keep these things from rusting. 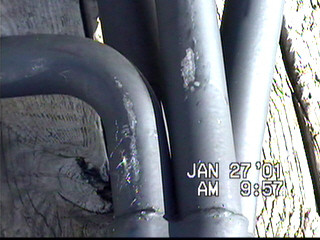
|